Sometimes it seems like the holy grail of the BBQ world: ribs so tender that the meat falls off the bone at the slightest touch—the infamous fall-off-the-bone ribs. The popular 3-2-1 method baby back ribs are the go-to method for achieving this result. And let’s be honest: if that’s your ultimate goal, by all means stick to that traditional timeline. But ask competition pitmasters, and they’ll tell you that extreme tenderness is actually a sign you’ve gone a step too far. Want perfectly tender ribs with a great bite? Keep reading before you jump straight to the recipe!
Disclaimer: This blog post features products freely provided by Barbecoa. It may also contain affiliate links. All expressed opinions remain personal and honest.
The issue with the standard 3-2-1 method, especially when cooking leaner baby back ribs, is that your meat turns into a mushy, structureless mess. At that point, you’re not really eating ribs anymore, but rather “pulled pork on a stick.” If you want pulled pork, there are far more efficient cuts of meat—like pork shoulder—that are much better suited for the job.
A properly cooked rib should have a clean “competition bite.” That means the meat is butter-tender and pulls away effortlessly right where you bite, while the rest stays neatly attached to the bone and retains its meaty texture. In this blog post, I’ll explain why the classic 3-2-1 technique is often the kiss of death for baby back ribs and how a few tweaks can yield that professional result instead. By the way, the 3-2-1 method isn’t your only option—I cover 5 methods for cooking BBQ ribs in another post.
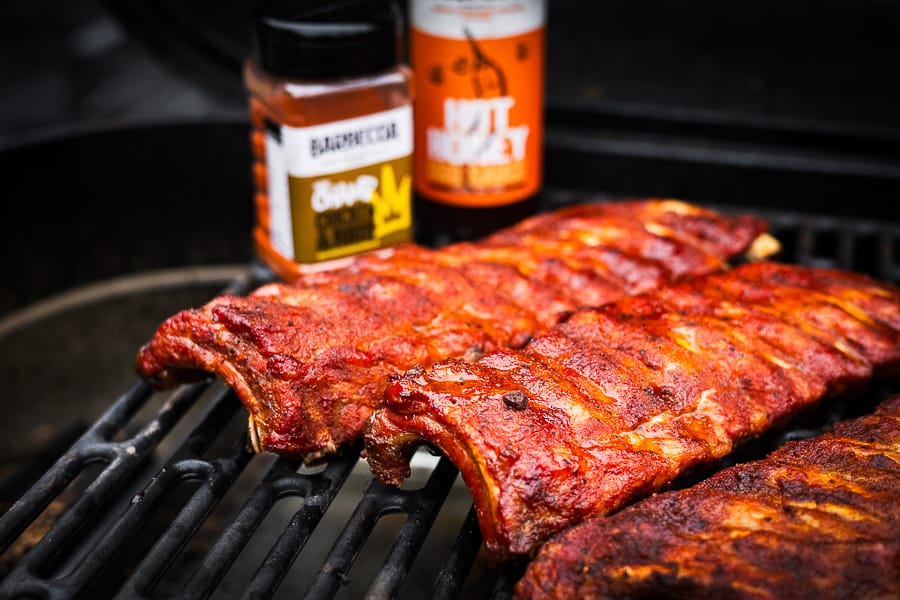
What is the 3-2-1 method and what is it used for?
The 3-2-1 technique is undeniably the most famous method in the low and slow BBQ world. It is a game plan that splits a total six-hour cook into three distinct phases, each with a specific purpose:
- 3 hours of smoking (Unwrapped): The ribs sit bare on the grate at a temperature of around 225-250°F (100-120°C). During this phase, they absorb smoke flavor and form the ‘bark’ (the flavorful spice crust).
- 2 hours of steaming (Wrapped): The ribs are wrapped tightly in heavy-duty aluminum foil with BBQ sauce, butter, and/or liquid. The steam built up inside rapidly breaks down connective tissue, producing extreme tenderness.
- 1 hour of caramelizing (Unwrapped): The ribs come out of the foil and get glazed with an extra layer of BBQ sauce. This final hour allows the sauce to set and caramelize into a shiny, sticky layer.
This method is designed to guarantee consistent results, focusing on meat that is guaranteed tender. But like any tool, you need to know what cut you’re applying it to. The effectiveness of the 3-2-1 method depends entirely on the type of ribs on your grate.


Baby back ribs vs. spare ribs: A world of difference
In Europe, there’s often confusion at the butcher counter. While everyone uses the term “spare ribs,” most local butchers standardly sell baby back ribs (also known as loin ribs).
- Why baby back ribs are the standard: These come from the top of the pork loin. They are smaller, meatier, leaner, and curve more. Butchers sell them more frequently because they cook faster and fit nicely on a plate.
- Ask specifically for “true” spare ribs: If you want the larger, flatter ribs from the belly, you usually have to ask for St. Louis cut or belly ribs. These are larger and contain far more connective tissue.

The 3-2-1 method: designed for spare ribs
It’s crucial to understand that the 3-2-1 method was originally developed for those heavy-duty spare ribs. These ‘heavyweights’ genuinely need those full two hours in foil to break down fat and tough connective tissue. If you use this technique on a thick rack of spare ribs, it often works great (though experience and feel always help). But use it on thin baby backs from your local butcher? You’ll push them way over the edge and end up with rib soup around the bone.
The solution for baby back ribs:
To achieve that perfect bite on classic European baby back ribs, we shouldn’t treat the 3-2-1 method as a set of rigid rules, but rather as a guideline. The real trick is shortening the steaming phase and learning to read the meat. Instead of relying blindly on a kitchen timer, we rely on our senses.
Timing is everything (but experience matters more)
For baby back ribs, we typically stick to a 2-1-0.5 schedule. That means roughly two hours of smoking, a maximum of one hour wrapped, and 15 to 30 minutes to caramelize the glaze. But alongside the clock, keep a close eye on these physical cues and temperature guidelines:
Phase 1: touch test for the perfect bark
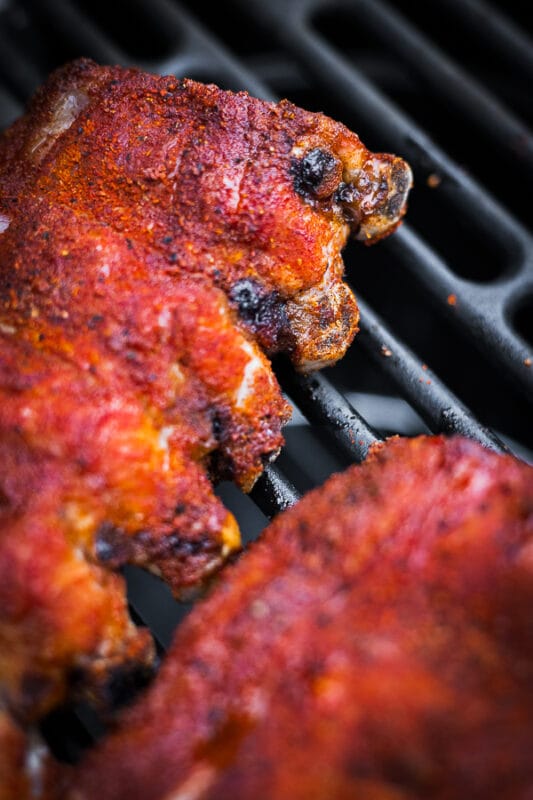
The “Touch Test” for bark formation: Before you even think about aluminum foil, there is one main goal: the bark. This is the dark, flavorful crust created by the interaction between the BBQ rub, meat juices, and smoke.
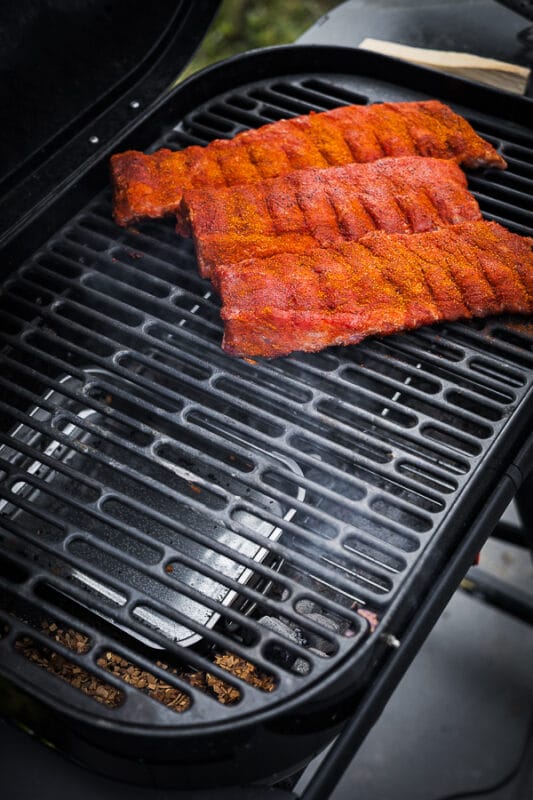
Never wrap your ribs based on time alone. After about two hours of smoking, check if the BBQ rub has set properly. Gently rub your finger across the surface. Does the rub stick to your finger? Then the crust isn’t dry enough yet. Only when the rub bakes firmly onto the meat without wiping off are you ready for the next step.


Phase 2: what to look for before unwrapping your ribs
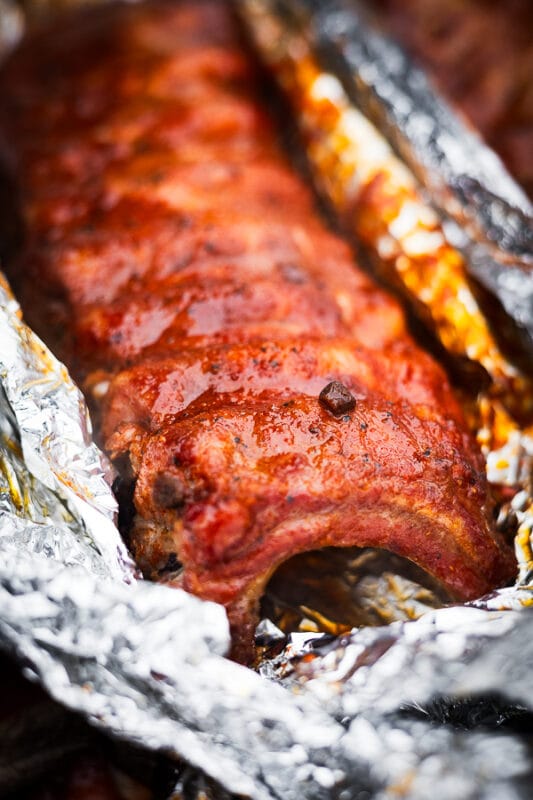
Before unwrapping your ribs for good, it’s essential to check for doneness. You can do this using three tests: the “probe test,” checking for “meat pullback,” and the “bend test.” For the Probe Test, use a toothpick or your thermometer probe. When probing through the foil, it should slide in like warm butter. Aim for an internal temperature of around 195°F (90°C). A tiny bit of resistance is fine—that’s your guarantee for a firm bite.
Meat pullback: Open the foil and check if the meat has pulled back about a quarter to half an inch from the bone tips (the pullback). This visual cue tells you the connective tissue has broken down sufficiently. Next, grab the rack in the middle with tongs (Bend test). When you lift them, they should bend nicely into an arch without the meat cracking or breaking apart completely. Does the rack still feel rigid? Leave it in the foil for another 15 minutes.

Phase 3: The finale for sticky ribs
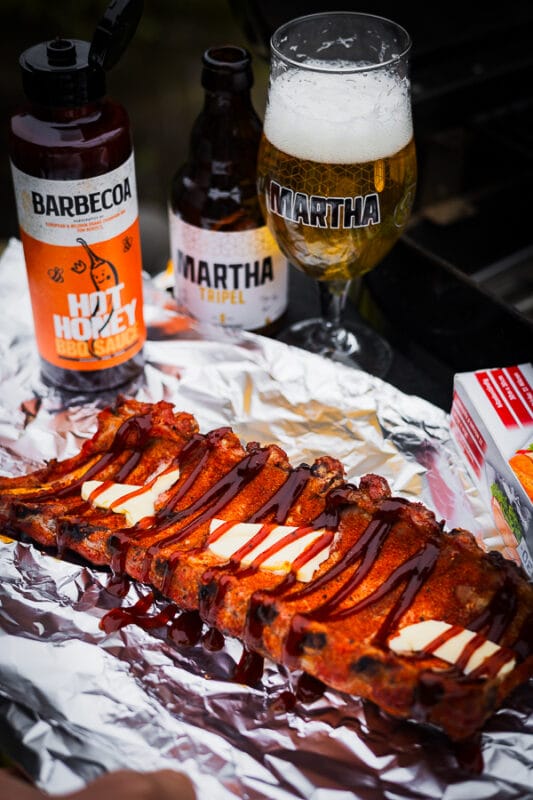
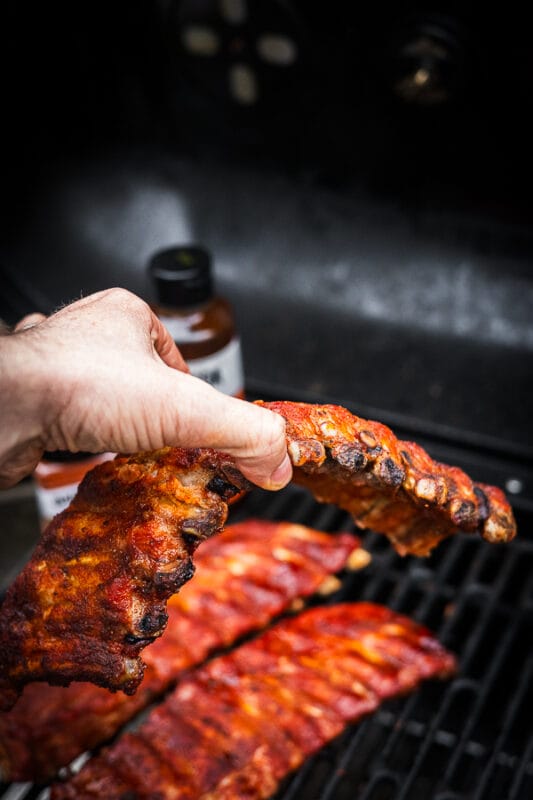
During the “steaming” phase, we add a combination of BBQ sauce and butter to flavor the ribs. Once unwrapped, you’ll notice this liquid mixture is very wet and doesn’t cling well. To achieve a beautiful sticky finish, let the unwrapped ribs sit on the grill a bit longer. Continue cooking unwrapped until the BBQ sauce sets nicely and the ribs reach an internal temperature of around 198°F to 200°F (92°C to 93°C) (approx. 15-30 mins). This is the sweet spot: sticky sauce, a clean bite, and maximum juiciness.
Making ribs for the first time? These five pro-tips will set you up for success!
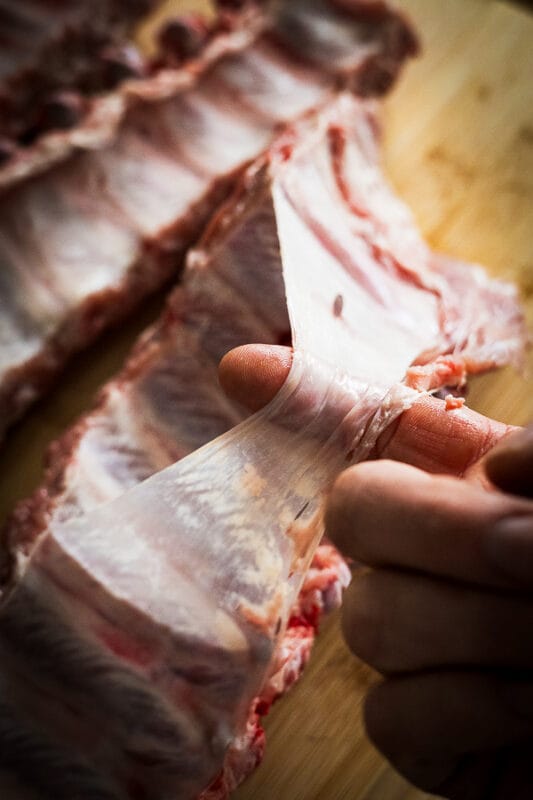
- Remove the membrane: Peel away the tough membrane (silverskin) on the bone side. Why? It blocks smoke and seasoning, and turns rubbery after cooking.
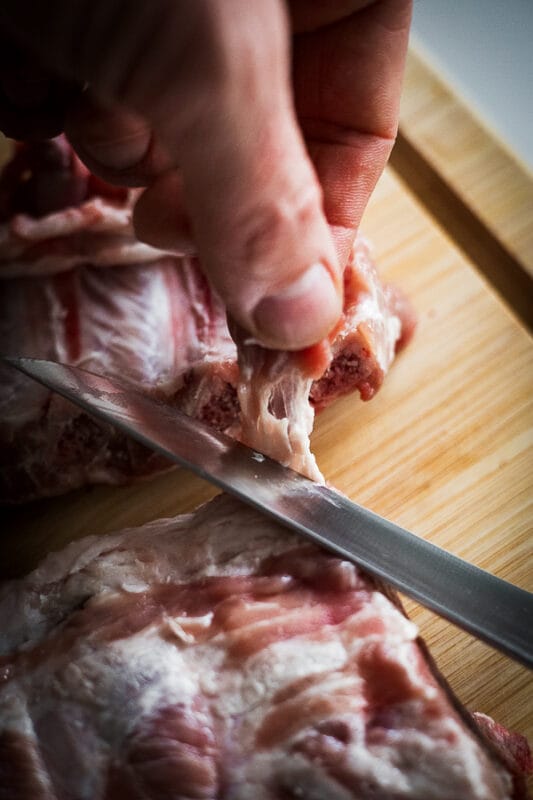
- Trim loose pieces: Cut off thin flaps or loose ends of meat. Why? These will burn before the rest of the rack is done, causing a bitter taste.
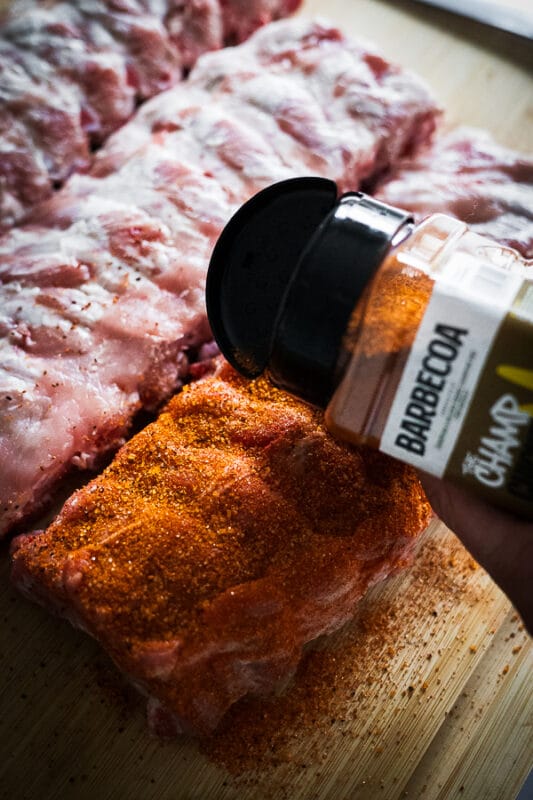
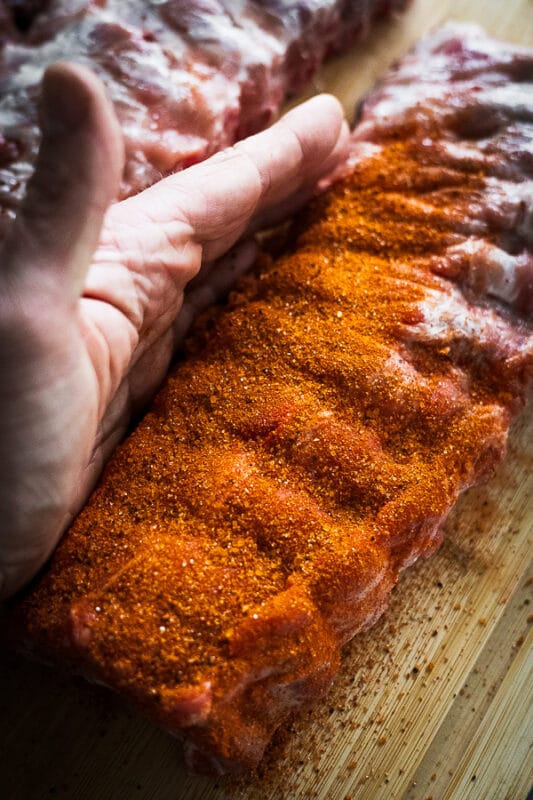
- Apply rub evenly: Sprinkle your BBQ rub from a distance for an even coating. Why? This ensures consistent flavor and an even bark (crust).
- Let it rest for 30 minutes: Allow the BBQ rub to “sweat” into the meat before hitting the grill. Why? The spices adhere better and won’t get blown off by airflow inside the smoker.
- Choose Heavy-Duty Foil (Texas Crutch): For this recipe, we use thick aluminum foil instead of butcher paper. Why? Foil creates an airtight seal, steaming the ribs in butter and sauce for maximum sticky goodness.
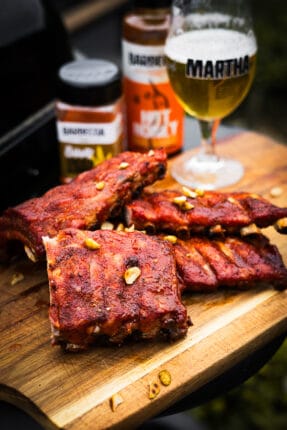
The result: delicious hot honey ribs with a clean bite
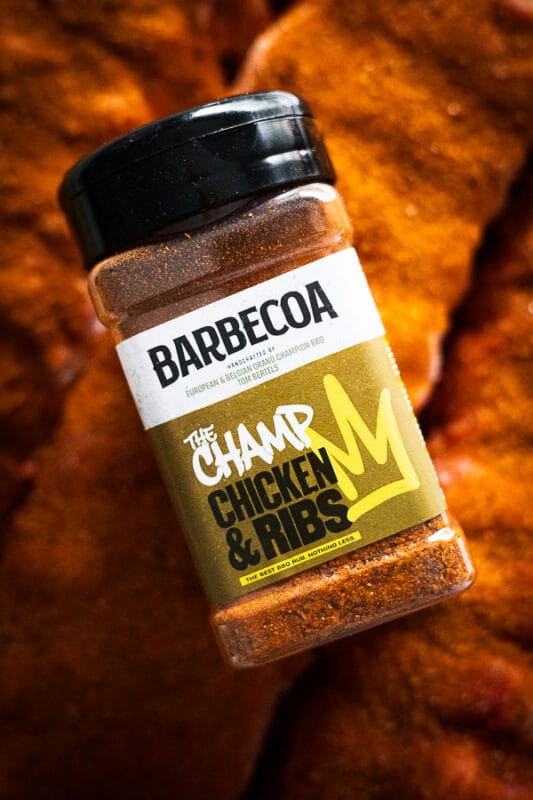
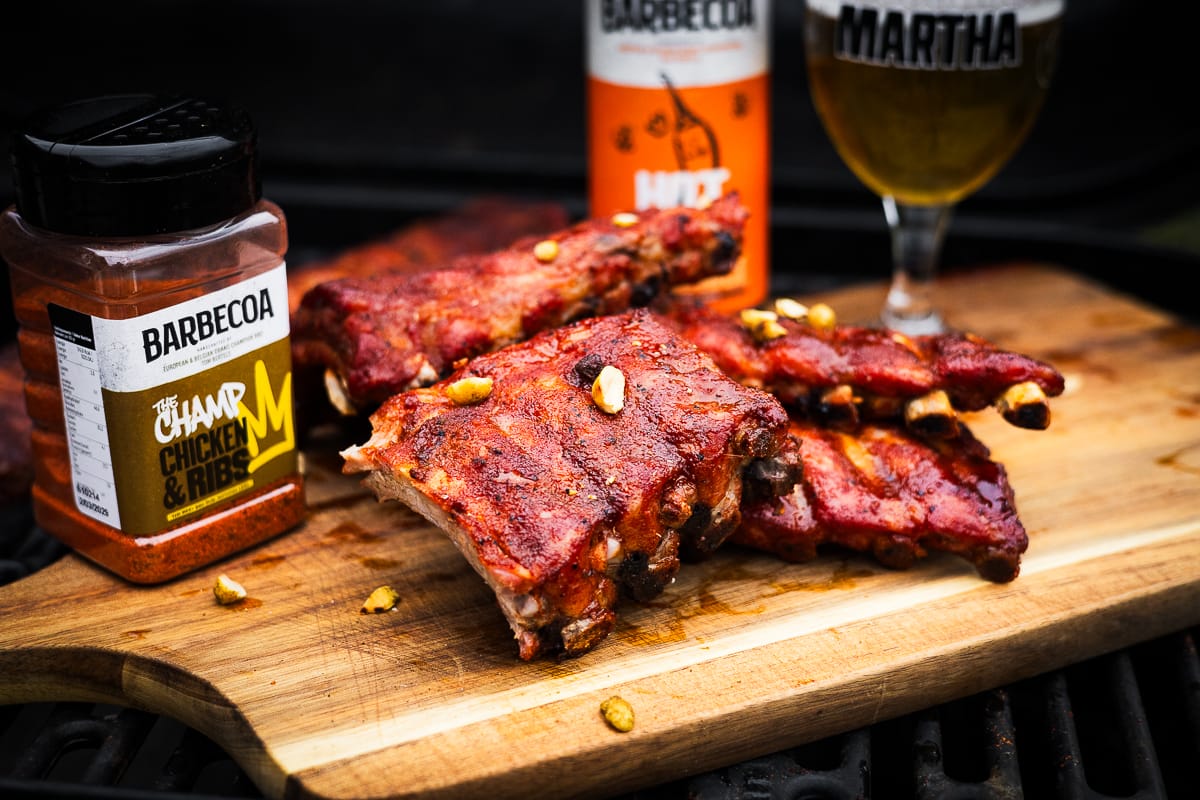
By stepping away from the rigid timelines of the traditional 3-2-1 method and focusing on the meat’s physical cues, you’ll create technically flawless ribs. Flavor-wise, they get a massive upgrade from Barbecoa’s rub and sauce line. In this recipe, the Champ BBQ Rub forms the perfect foundation; its savory and mildly spicy flavor profile builds that deep, complex bark we worked hard for in Phase 1.
The crown jewel is the finish with the new Hot Honey BBQ Sauce. Adding it during the wrap and allowing it to caramelize briefly in Phase 3 creates a delicious, sticky glaze with the ideal balance between sweetness and a subtle heat kick. No mushy meat, just ribs with character and a perfect bite.
Ready to serve the perfect bite yourself? Fire up your grill, trust your senses (and the probe test!), and enjoy the best Hot Honey ribs you’ve ever pulled off the grate using this modified 3-2-1 method. Be sure to let me know in the comments or on social media how they turned out!
Happy grilling!
Modified 3-2-1 Hot Honey Baby Back Ribs
Equipment
- Smoker or Kettle BBQ (set for indirect heat at 110-120°C / 225-250°F)
- Heavy-duty aluminum foil (30 micron)
Ingredients
Preparation and rub
- 2 racks Baby back pork ribs membrane removed, trimmed
- 3 tbsp Barbecoa The Champ BBQ Rub or your favorite savory-sweet pork rub
- 2 tbsp Yellow mustard used as a binder
Wrapping Phase (Phase 2)
- 4 tbsp Unsalted butter sliced into pats
- 4 tbsp Honey or Hot Honey
- 4 tbsp Apple juice or apple cider vinegar
Glaze & Finish (Phase 3)
- 0.5 cup Barbecoa Hot Honey BBQ Sauce
Instructions
Prep the Ribs
- Peel the membrane (silverskin) off the back of the ribs using a paper towel for grip. Trim any loose flaps of meat that might burn. Apply a thin layer of yellow mustard as a binder, then season liberally on all sides with Barbecoa The Champ BBQ Rub. Let the ribs rest at room temperature for 30 minutes to allow the rub to sweat into the meat.
Phase 1 – Smoke (2 Hours)
- Set up your BBQ for indirect cooking at 110-120°C (225-250°F) with hickory or apple smoke wood. Place the ribs bone-side down on the grate. Smoke unwrapped for approximately 2 hours until the bark is set (perform the Touch Test: the rub should not rub off on your finger).
Phase 2 – Wrap (1 Hour)
- Lay down a double layer of heavy-duty aluminum foil. Place half the butter pats, hot honey, and a splash of apple juice on the foil. Place the ribs meat-side down on top, then add the remaining butter and honey on top of the bone side. Wrap tightly to trap steam. Return to the smoker for 1 hour at 110-120°C (225-250°F).
Phase 3 – Glaze & Set (15-30 Minutes)
- Carefully unwrap the ribs. Test for doneness using a probe (target internal temperature around 90°C / 195°F with a mild resistance for a competition bite). Flip the ribs meat-side up on the grill grate and brush generously with Barbecoa Hot Honey BBQ Sauce.
Caramelize & Rest
- Close the grill lid and allow the sauce to set and caramelize for 15 to 30 minutes until glossy and sticky (target internal temperature 92-93°C / 198-200°F). Remove from the grill, let rest for 10 minutes, then slice between the bones and serve.
Nutrition
Frequently Asked Questions about perfect BBQ ribs
How to cook the best ribs on the barbecue?
The best results are achieved by using the low & slow method at a temperature between 225°F and 250°F (100°C to 120°C). Use the 3-2-1 method (or the 2-1-0.5 variation for baby back ribs) to maintain control over smoke absorption, tenderness, and sauce caramelization.
What is the 3-2-1 technique for ribs?
3 hours of smoking (Unwrapped): The ribs sit bare on the grate at around 225-250°F (100-120°C). During this phase, they absorb smoke flavor and form the ‘bark’ (the spice crust).
2 hours of steaming (Wrapped): The ribs are wrapped tightly in aluminum foil with BBQ sauce, butter, and/or liquid. The steam created inside rapidly breaks down connective tissue, ensuring extreme tenderness.
1 hour of caramelizing (Unwrapped): The ribs are unwrapped and glazed with extra BBQ sauce. This final hour allows the sauce to caramelize into a shiny, sticky layer.
What is the ideal cooking time for raw ribs on the BBQ?
Plan for about 6 hours when cooking thick St. Louis style spare ribs. For leaner baby back ribs, 3.5 to 4 hours is usually sufficient. Use a method like the snake method on a Kettle BBQ to maintain a consistent temperature throughout the cook.
What is the secret to tender BBQ ribs with a great bite?
The secret lies in the wrapping phase. Steaming the ribs in aluminum foil with butter and liquid breaks down connective tissue. However, for that perfect competition bite (where meat pulls clean off the bone without falling apart), limit wrapping baby back ribs to no more than one hour.
Why wrap ribs in aluminum foil during the 3-2-1 method?
Wrapping ribs, also known as the Texas Crutch, speeds up the cooking process and ensures tender meat. The steam inside the foil keeps the ribs moist and prevents them from drying out in the smoker’s airflow. Choose heavy-duty aluminum foil so sharp bone ends don’t puncture through.
How do I know if my ribs are overcooked?
Ribs are overcooked when the meat slips right off the bone the moment you pick them up—commonly referred to as fall-off-the-bone. While popular with some, pitmasters view this as overdone. Use the Bend test: if you pick up the rack in the middle and it tears or splits in half immediately, it’s overcooked. Pull them when they bend nicely into an arch without tearing.
How do I make my BBQ ribs extra juicy and sticky?
Combine the right BBQ rub, sauce, and technique. For these ribs, start with a dry rub (like Barbecoa Champ Rub) for a solid flavor base and follow the modified 3-2-1 method. Finish with a quality sauce like Hot Honey BBQ sauce. Letting the glazed ribs cook unwrapped for the final 15-30 minutes sets a sticky, glossy coating that locks in all the juices.
Does adding vinegar or apple juice make ribs more tender?
Yes, the acid in vinegar or apple juice helps break down connective tissue faster while steaming in foil, although it isn’t strictly necessary. It also adds a subtle tangy balance against the rich pork fat and sweet honey notes.